Tools#
We provide a set of tools to help you with robot configuration, environment setup, visualization and teleoperation. Below are some of the key tools available:
python3 tools.py <command> <path> [options]
Available commands:
1. view - Environment Visualization#
Visualize robot environments and configurations in an interactive GUI.
Syntax:
python3 tools.py view <path_to_env_config> [options]
Options:
--random-action: Apply random actions to the robot (default: False)--paused: Start simulation in paused state when usingrandom-action(default: False)--hz <int>: Set action frequency in Hz in when usingrandom-action(default: None)
Examples:
python3 tools.py view vr_teleop/configs/examples/maniskill_panda/pick_cube.yaml
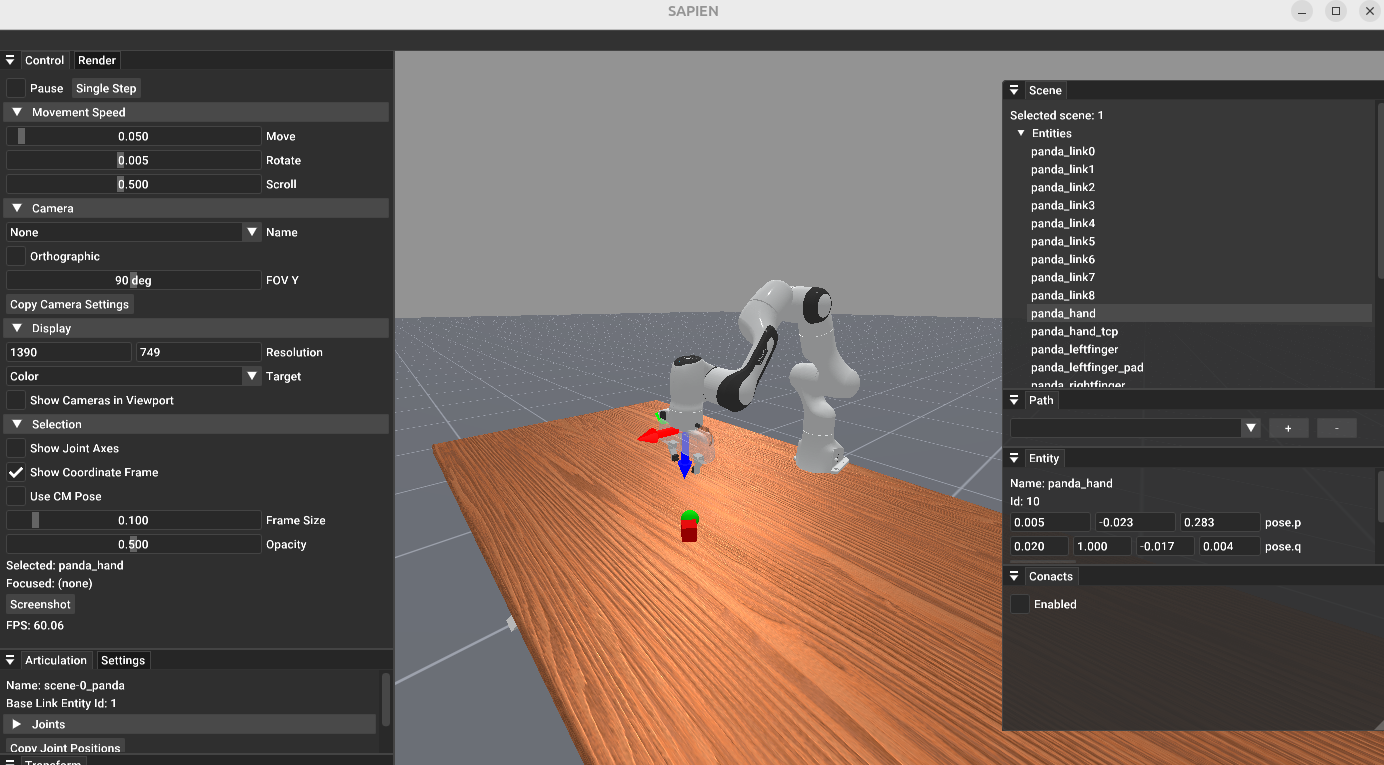
Visualizing the panda robot in “PickCube-v1” environment#
2. replay - Trajectory Playback#
Replay recorded robot trajectories.
We utilize ManiSkill3 built-in recording and replay tools. The recorded trajectories are stored in the same format as ManiSkill3 with meta data to store environment information and trajectory data to store the recorded trajectories.
Syntax:
python3 tools.py replay <path_to_recorded_hd5> [options]
This script is a wrapper to launch ManiSkill3 replay tools and you can use all the options provided by ManiSkill3 replay tools.
Example:
python3 tools.py replay records/maniskill/PegInsertionSide-v1/20250615-145430/trajectory.h5 --allow_failure
3. calibrate - Retargeting Calibration#
Calibrate scaling factors for human-to-robot motion retargeting to ensure accurate motion transfer.
Syntax:
python3 tools.py calibrate <path_to_teleop_config>
Usage:
While wearing your VR headset, keep your hands flat and open, and make sure the hands are detected by the camera. Hold this gesture for 15 seconds, and the scaling factor will be printed out.
Please refer to Retargeting for more details.
4. convert - Pose Conversion Utilities#
Compute quaternion to convert the controller / hand frame to the end-effector frame.
This tool calculates the transformation needed to align coordinate frames for proper robot control.
Syntax:
python3 tools.py convert <axis_mapping>
<axis_mapping>: String containing space-separated axes like “x -y -z” or “-x z y”.
Axis Mapping Format:
Use space-separated axis directions to define how controller axes map to end-effector axes
Positive axes:
x,y,zNegative axes:
-x,-y,-zOrder represents: [end-effector X maps to controller axis] [end-effector Y maps to controller axis] [end-effector Z maps to controller axis]
Example: see example in IK Solver Configuration for Panda robot.
5. ik-vis - Visualize IK Robot#
Launch a SAPIEN GUI to visualize the robot model used for inverse kinematics (IK) calculations.
This tool helps verify robot kinematics structure, joint configurations, and end-effector poses.
Syntax:
python3 tools.py vis_ik <path_to_tele_config>
Example:
The following is an example for Panda robot in configs/agents/panda/ik_right.yaml:
robot:
    urdf: ${oc.env:MANISKILL_ASSETS}/robots/panda/panda_v2.urdf
    fix_root_link: false
    cut:
        root: panda_hand
        cuts: [panda_hand_tcp, panda_leftfinger, panda_rightfinger]

    # add qpos for visualization
    qpos: [0.0, 0.392, 0, -1.96, 0, 2.36, 0.785]
    # use default qpos in https://github.com/haosulab/ManiSkill/blob/9561ef04747daa881209a143f2ad8b4bd5a6d98d/mani_skill/agents/robots/panda/panda.py


ik:
    ee_pose_convertor: [q: [0, 1, 0, 0]]
    ee_name: ["panda_hand"]
    fix_joint_indices: []
    n_retry: 0
    max_iterations: 100
    threshold: 1e-3
    use_projected_ik: false # true
    mod_2pi: false # true
python3 tools.py vis_ik configs/agents/panda/tele_right.yaml
This shows the Panda robot without gripper fingers, a pure robot model with only IK-related joints, validating the IK configuration.
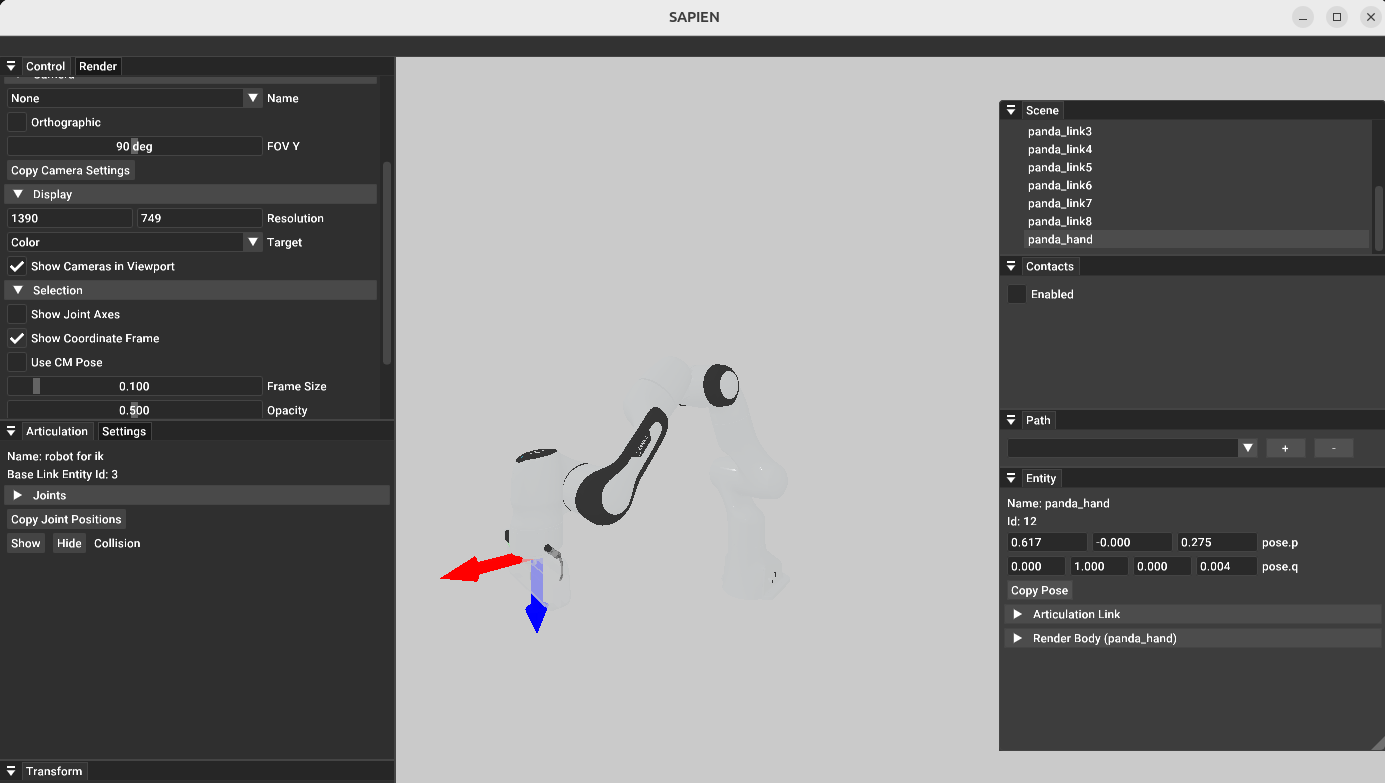
Interactive SAPIEN GUI showing the Panda robot with only IK-related joints#
For detailed information about IK configuration parameters, see IK Solver Configuration.
6. retargeting-vis - Visualize Retargeting Robot#
Launch a SAPIEN GUI to visualize the robot model used for retargeting calculations.
This tool helps verify robot kinematics structure and link configurations (pose of links used for target_origin_link_names and target_task_link_names).
Syntax:
python3 tools.py vis_ik <path_to_tele_config>
Example:
The following is an example for Floating Ability Hand in configs/agents/floating_ability_hand/retargeting_right.yaml:
hand_model:
urdf: ${oc.env:ASSETS}/agents/floating_hand/ability_hand/ability_hand_right.urdf
mimic_joints: ... # skip for brevity

# add qpos for visualization (vis_retargeing)
qpos: [0, 0, 0, 0, 0, 0, 0, 0, 0, 0, 0, 0, 0.72349796, 0.72349796, 0.72349796, 0.72349796]
python3 tools.py vis_retargeting configs/agents/floating_ability_hand/tele_right.yaml
This shows the Floating Ability Hand and you can check the link poses to verify the retargeting configuration.
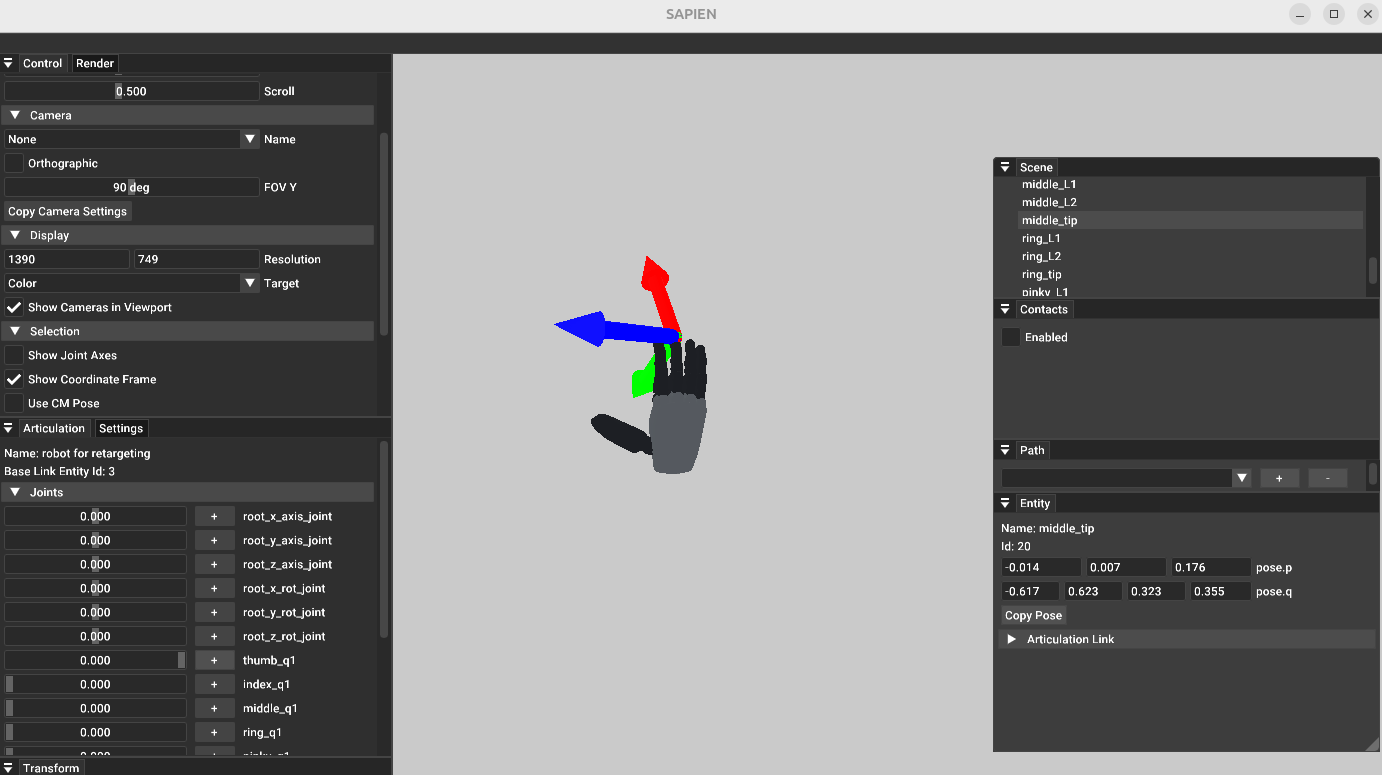
Interactive SAPIEN GUI showing the Floating Ability Hand#
For detailed information about retargeting configuration parameters, see Retargeting.