Installation#
ImVR requires a VR headset and a host machine to run the simulation & real world observation rendering.
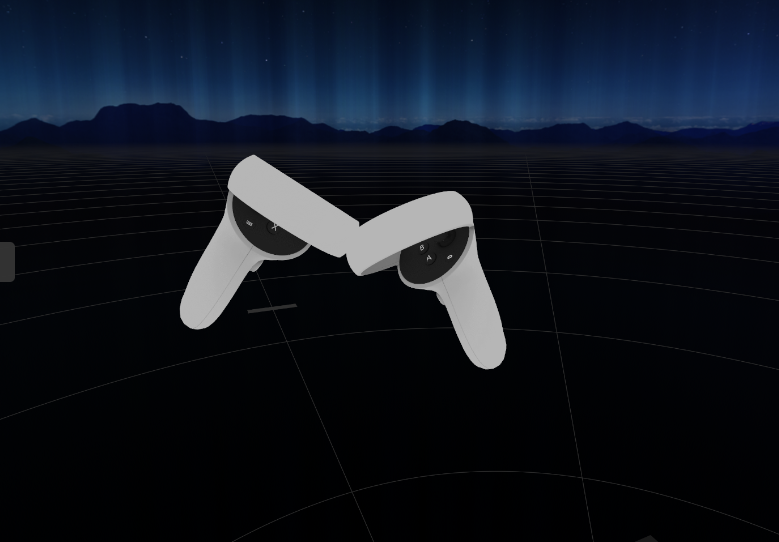
The following instructions guide you through setting up ImVR with a Meta Quest 3 headset using a wired connection to a host machine.
Preliminary Steps#
clone the ImVR repository:
git clone https://github.com/liuyulinn/imvr.git --recursive
download the necessary assets:
cd imvr
bash download.sh
You should see the following folder structure:
imvr/
├── adbforwarder/         # Tools for setting up a wired connection with Meta Quest 3
├── alvr_green/           # ALVR-related components for streaming VR content
├── vr_teleop/            # Main source code for VR teleoperation
│   ├── assets/           # Simulation assets
│   │   ├── agents/       # Agent models and configurations
│   │   ├── envs/         # Simulation environments
│   │   └── ...           # Other asset subdirectories
│   └── ...               # Other source code and modules
└── ...                   # Additional files and directories
Meta Quest 3 Setup#
Install ALVR on Meta Quest 3 following the instructions on Meta Quest ALVR. You can either install it with SideQuest or download directly from Meta Quest Horizon Store.
Open ALVR on the headset. You should see message like “ALVR v20.1.3” (Version can be different).
Host machine setup#
To allow wired connection with Meta Quest 3 without root privileges, you need to add a
udevrule on the host machine:Create a file named
99-quest3.rulesunder/etc/udev/rules.d/using the following command:echo 'SUBSYSTEM=="usb", ATTR{idVendor}=="2833", ATTR{idProduct}=="0186", MODE="0660", GROUP="plugdev"' \ | sudo tee /etc/udev/rules.d/99-quest3.rules > /dev/null sudo udevadm control --reload-rules && sudo udevadm trigger
Add the current user to the
plugdevgroup with# Add your user to the docker group sudo usermod -aG plugdev $USER # Log out and log back in, or run: newgrp plugdev
(Skip this step if you have already set up ADB on your host machine) install ADB:
sudo apt update
sudo apt install adb
To test connection and authorize connection to your host machine:
Run the following command from the root of the
imvrrepository:./adbforwarder/ADBForwarder
You should see output similar to:
Platform: Linux
Adb server started.
If your device doesn't show up after connecting the device, please make sure dev mode is enabled on headset and cable or usb port is not damaged.
Connected device: 2G0YC1ZF80008R
Successfully forwarded device: 2G0YC1ZF80008R [eureka]
If you encounter an “unauthorized” error like below, you must approve the ADB connection on the headset:
Connected device: 2G0YC1ZF80008R
Skipped forwarding device: 2G0YC1ZF80008R, Error: Unauthorized
Unauthorized device, please make sure you enabled developer mode on device, authorized adb connection on the device and then replug usb cable.
In some cases, the headset does not show the permission prompt. If that happens:
Ensure the cable is securely connected and that the device is visible via
lsusb.Try reconnecting the cable or rebooting the headset.
Once you’ve tested and authorized the connection, you can proceed to the docker setup below.
Docker Setup#
Note
We currently only provide a Docker release that supports controller tracking with Meta Quest. If you want to use hand tracking, please build ALVR from source and refer to Installation w/o Docker.
Make sure you have the following installed and configured:
docker(Docker Engine)Current user added to the
dockergroup (so docker can run without sudo)nvidia-container-toolkitnvidiacontainer runtime enabled
Helpful guides: Docker Engine on Ubuntu, NVIDIA Container Toolkit
All commands below should be run from the root of the imvr repository.
Pull the latest docker image:
docker compose pull base
Start the ALVR container:
docker compose up alvr
If your user does not have UID 1000, the container will adjust the user ID and ownership of files/directories using
usermodandchown, which can take 2–5 minutes.To view a progress bar during this process, run:
docker compose run --rm alvr
Example output:
Found too many files while changing user ID (usermod). Please wait for it to finish.
Progress [92946/94486] : [#######################################-] 98%
Finished changing ID of user 'vr' to 1004.

chown 19158 files in /VRTeleop ...
After the container starts, you should see output similar to the following and the ALVR Dashboard window should open:
Connected device: 2G0YC1ZF80008R
Successfully forwarded device: 2G0YC1ZF80008R [eureka]
[15:24:49.125583297 INFO winit::platform_impl::platform::x11::window] Guessed window scale factor: 1
The container runs
ADBForwarderin the background and keepsalvr_dashboardin an infinite loop.You can safely close and reopen the ALVR Dashboard without restarting the container.
Please refer to the following video for the ALVR connection tutorial:
ALVR connection setup tutorial
Test scene in VR headset#
Run the example teleoperation of the Panda robot for the Peg Insertion task:
Start the base container:
docker compose run --rm base
Then run the teleoperation script:
cd vr_teleop
./example.sh peg_insertion
You should see the Panda robot in the VR headset, positioned on a table with a peg and a hole. You will also see coordinate axes that move in sync with your hand and controller.
Peg Insertion in VR View. Coordinate axes always move in sync with your hand and controller.
For instructions on using teleoperation, please refer to the usage section in Gripper-Based Robot.
Warning
Make sure your NVIDIA graphics driver version is greater than 565, or the system can’t function properly.
You can check the installed version with:
nvidia-smi | grep "Driver Version"
If the version is lower than 565, please update your driver through:
sudo apt install nvidia-driver-xxx
# sudo apt install nvidia-driver-535 # for example