Dexterous Hand#
Connected via ALVR and tele.py running the dexterous hand example, you can start controlling a dexterous hand in virtual reality.
# example
./example.sh insert_flower
# python3 tele.py --env configs/examples/maniskill_floating_ability/insert_flower.yaml --tele configs/agents/floating_ability_hand/tele_right.yaml
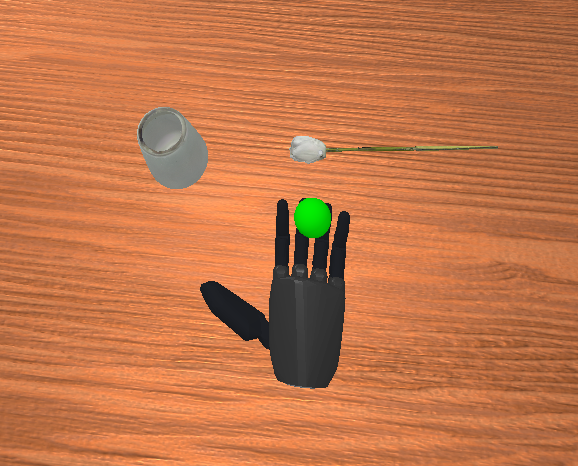
InsertFlower-v1 environment with Floating Ability Hand. The task is to grasp the flower and insert into the vase.#
How Control Works#
We utilize a pedal to as control signal, which functions as a key mapping. The pedal buttons correspond to keyboard keys as follows:
Left button:
AkeyMiddle button:
SkeyRight button:
Dkey
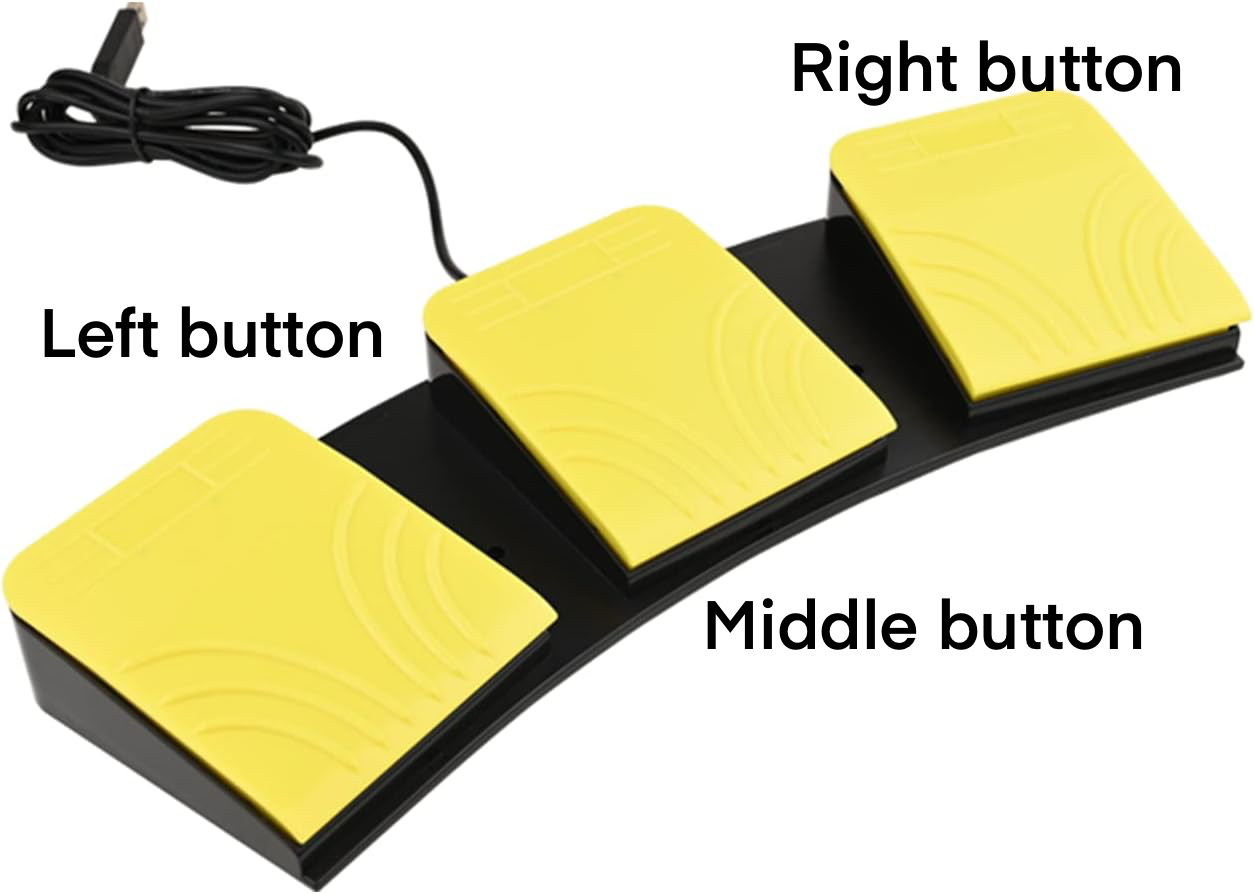
Pedal Key Mapping definition#
You can either step on the pedal buttons or press the corresponding keys on your keyboard.
The control system maps your hand motion directly to the robot’s motion. When you step on the middle button (or press S), synchronization begins and the robot will follow your hand movements. Step on the middle button again (or press S again) to stop synchronization and freeze the robot in place.
.. is used to control the gripper opening and closing.
Recording Your Movements#
Recording logic is the same as gripper-based robot.
For simulation tasks with predefined success conditions, recording happens automatically:
Recording starts when you begin synchronization with the robot.
Recording stops once you complete the task successfully, plus a few extra seconds for good measure.
The environment resets itself after each recording.
You also have manual controls available:
Press the left button (or
Dkey) to stop recording manually.Press the right button (or
Akey) to reset the environment whenever you want.
Visual Feedback#
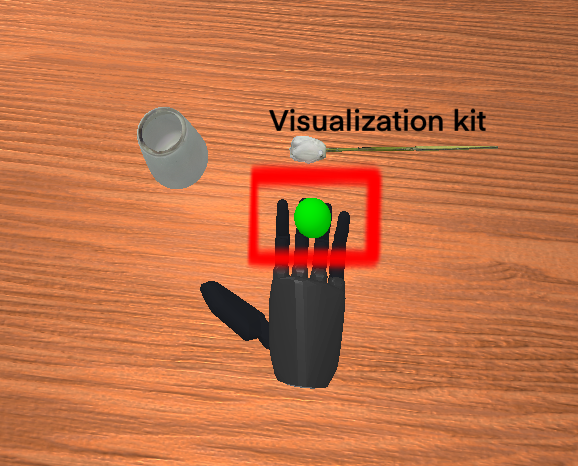
A small green shpere as visualization kit#
The visual feedback logic is the same as gripper-based robot.
A small green sphere shows you important information. For example, in a “pick up the cube” task, the green sphere marks exactly where you need to place the cube.
The sphere changes color to tell you what’s happening:
Green: Ready to start.
Red: You’re synchronized with the robot (robot following your hand)
Blue: Success! You’ve completed the task
After the sphere turns blue, the environment will automatically reset after a few seconds and the sphere returns to green.
Workflow Example#
Environment starts with green sphere
Press middle button/
S→ sphere turns red (synchronization active)Perform your demonstration with the robot following your hand
Complete the task → sphere turns blue (success!)
System automatically resets after a few seconds → sphere returns to green
Controller Reference#
S/ Middle button: Toggles synchronization between the controller and the robot’s end-effector.Press once to enable (the robot will follow your hand).
Press again to disable (freeze the robot in place).
D/ Left button: Manually stop recording.A/ Right button: Manually reset the environment.pinch: Adjust your VR view.Pinch to see a meta icon and hold for 3 seconds to adjust the view.
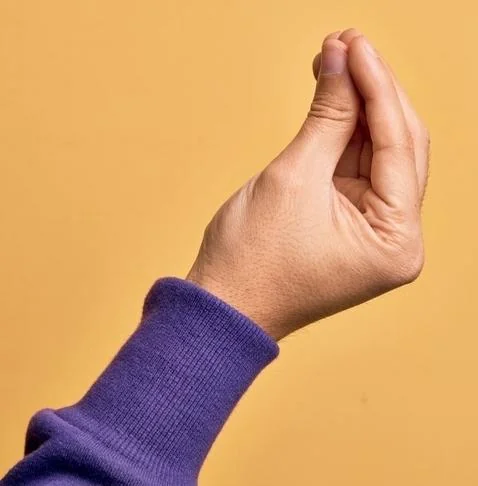
Pinch to see the meta icon for adjusting your VR view#